In the dynamic world of personal technology, laptops are no longer just functional devices but an extension of our personal style and identity. Laptop skins have emerged as a popular accessory, offering users a creative canvas to transform their devices into unique works of art. However, applying laptop skins requires precision and care to ensure a seamless and visually pleasing result. This comprehensive guide will delve into the essential aspects of using laptop skin, from preparation to precise application.
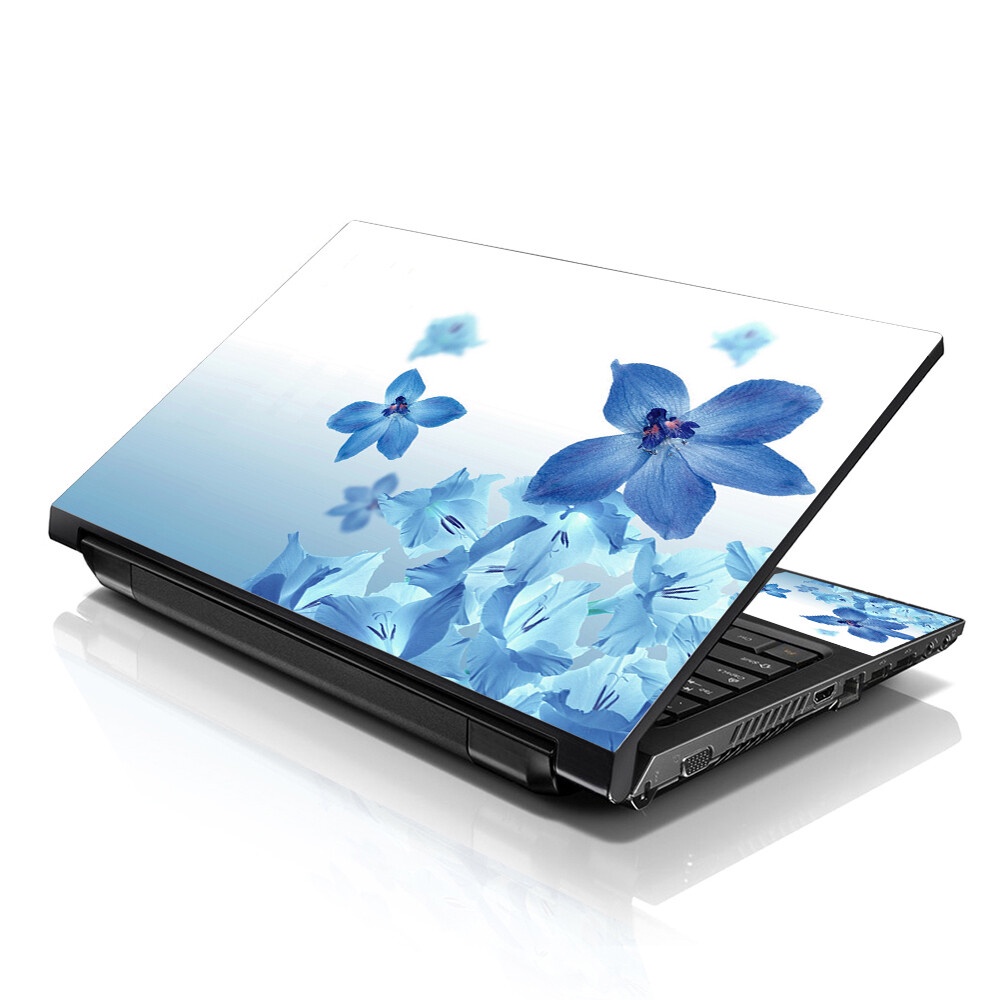
Choose the Right Laptop Skin:
Choosing the suitable laptop skin is crucial before you embark on the application process. Consider the size and dimensions of your laptop to ensure a perfect fit. Many laptop skin providers offer models specifically designed for various laptop brands and models, making the selection process easier. Additionally, explore different materials and finishes, such as vinyl, matte, or textured options, to find the one that aligns with your style preferences.
Clean Your Laptop Thoroughly:
A clean surface is essential for the successful application of a laptop skin. Any dust, dirt, or residues on your laptop's surface can interfere with the adhesive and compromise the longevity of the skin. Begin by turning off your computer and disconnecting it from any power sources. Use a soft microfiber cloth and a small amount of isopropyl alcohol to thoroughly clean the laptop's surface, paying extra attention to areas around ports, edges, and corners.
Measure and Align Carefully:
Precise measurement and alignment are critical factors in achieving a professional-looking result. Before peeling off any backing, position the laptop skin on your device to ensure it fits perfectly. Pay attention to the alignment of cutouts for ports, logos, and other features. Use a ruler or measuring tape if necessary to confirm the accuracy of your laptop skin's dimensions. Taking the time to measure and align accurately at this stage will save you potential adjustments later in the process.
Peel Off the Backing Slowly:
With your laptop skin adequately aligned, it's time to start the application process. Begin by peeling off a small portion of the backing from one corner or edge of the laptop skin. Peel it slowly and at a flat angle to prevent the skin from sticking to itself. As you peel, use your other hand or a plastic card to smooth the exposed section onto the laptop's surface.
Smooth Out Air Bubbles:
As you apply the laptop skins, be attentive to the formation of air bubbles. Air bubbles can affect the adherence of the skin and create an uneven surface. If you notice any bubbles forming, gently lift the skin and smooth them out using your fingers or a plastic card. Work from the center outward to push out any trapped air. Take your time to ensure a bubble-free application, especially around cutouts and edges.
Use a Hairdryer or Heat Gun for Contoured Areas:
Laptops often have contoured surfaces, making applying a flat laptop skin challenging. To address this, use a hairdryer or heat gun on low to warm the laptop skin slightly. The heat makes the material more pliable, allowing it to conform to the contours of your laptop's surface. Be cautious not to overheat the skin, and use your fingers or a plastic card to smooth out the skin as you apply heat.
Pay Attention to Edges and Corners:
The edges and corners of your laptop are critical areas that require extra attention during the application process. Ensure the skin adheres tightly to these areas to prevent peeling over time. Gently stretch the skin around the corners and use a plastic card to press it firmly into the edges. If your laptop has sharp corners, consider using a hair dryer to soften the skin slightly, making adhering to these challenging areas easier.
Trim Excess Material:
Once the laptop skin is fully applied, you may notice excess material around edges, ports, or other features. Use a sharp utility knife or precision scissors to trim any surplus material. Be careful during this step to avoid damaging your laptop or the skin. A steady hand and patience are crucial to achieving clean and precise cuts.
Seal Edges with Heat:
To ensure a long-lasting and secure bond, use a hairdryer or heat gun to seal the edges of the laptop skin. Applying gentle heat to the edges helps activate the adhesive, creating a more secure bond between the skin and the laptop's surface. Run the heat source along the edges while pressing the skin down with a plastic card to ensure a tight seal.
Allow Proper Curing Time:
After applying the laptop skin, it's essential to allow sufficient time for the adhesive to cure. While most laptop skins are designed for immediate use, giving it some extra time ensures a strong and durable bond. Avoid placing stress on the laptop skin, such as inserting cables or accessories, until the adhesive has fully cured. Depending on the specific product, this can take anywhere from a few hours to a day.
Maintenance and Cleaning:
Once your skin it laptop is securely in place, it's essential to maintain and clean it properly. Use a soft, damp cloth for regular cleaning, and avoid harsh chemicals or abrasive materials that could damage the skin. If you need to remove any residue or sticky substances, use a small amount of isopropyl alcohol on a microfiber cloth. Always power off your laptop and disconnect it from any power sources before cleaning.
Removing and Changing Laptop Skins:
If you ever want to change or remove your laptop skin, follow a careful process to avoid damaging your device. Start by warming the skin slightly with a hairdryer or heat gun, similar to the application process. Peel off the skin slowly, using a plastic card to lift and detach it from the laptop's surface. If any adhesive residue remains, use isopropyl alcohol and a microfiber cloth to clean the surface gently.
Store Unused Laptop Skins Properly:
If you have multiple laptop skins or plan to change them periodically, store unused skins properly to maintain their adhesive properties. Please keep them in a cool, dry place, away from direct sunlight and extreme temperatures. Holding them flat prevents any warping or damage to the material. Following proper storage practices ensures that your laptop skins remain optimal for future use.
Experiment with Layering:
For creative people, consider experimenting with layering laptop skins to create unique and personalized designs. Some users choose to layer multiple skins or mix and match different patterns to achieve a one-of-a-kind look. If you decide to layer laptop skins, ensure that the materials are compatible and won't compromise the adhesive properties of each layer.
Explore DIY and Customization:
Beyond commercially available laptop skins, consider exploring DIY options for a truly personalized touch. Please create custom designs or artwork and print them on a suitable laptop skin material. Many online platforms allow you to upload your designs and receive custom laptop skins tailored to your specifications. This opens up a world of possibilities for expressing your creativity and individuality.
Conclusion:
Applying a laptop skin is a creative and rewarding process that allows you to transform your device into a unique expression of your style. You can achieve a seamless and visually appealing result with careful preparation, precise measurement, and attention to detail. Remember to choose the suitable laptop skin for your device, clean the surface thoroughly, and take time to ensure a professional finish during the application process.
Whether opting for a sleek and minimalist look or a vibrant and artistic design, laptop skins offer a versatile canvas for personal expression. So, embrace the world of tech couture, elevate your laptop's aesthetics, and make a statement that reflects your individuality with a carefully applied and thoughtfully chosen laptop skin.

No comments yet