Dash cams have become an increasingly popular accessory for vehicles, providing drivers with an extra layer of security and peace of mind while on the road. Whether you’re concerned about capturing evidence in case of accidents or simply want to document your travels, installing a dash cam can be a valuable investment. However, installing a dash cam correctly is essential to ensure optimal performance and functionality. Check out: Vancouver dash cam
In this guide, we’ll walk you through the steps of dash cam installation, from choosing the right location to wiring it properly.
Choosing the Right Location
Before you start the installation process, it’s crucial to choose the optimal location for your dash cam. Here are a few factors to consider:
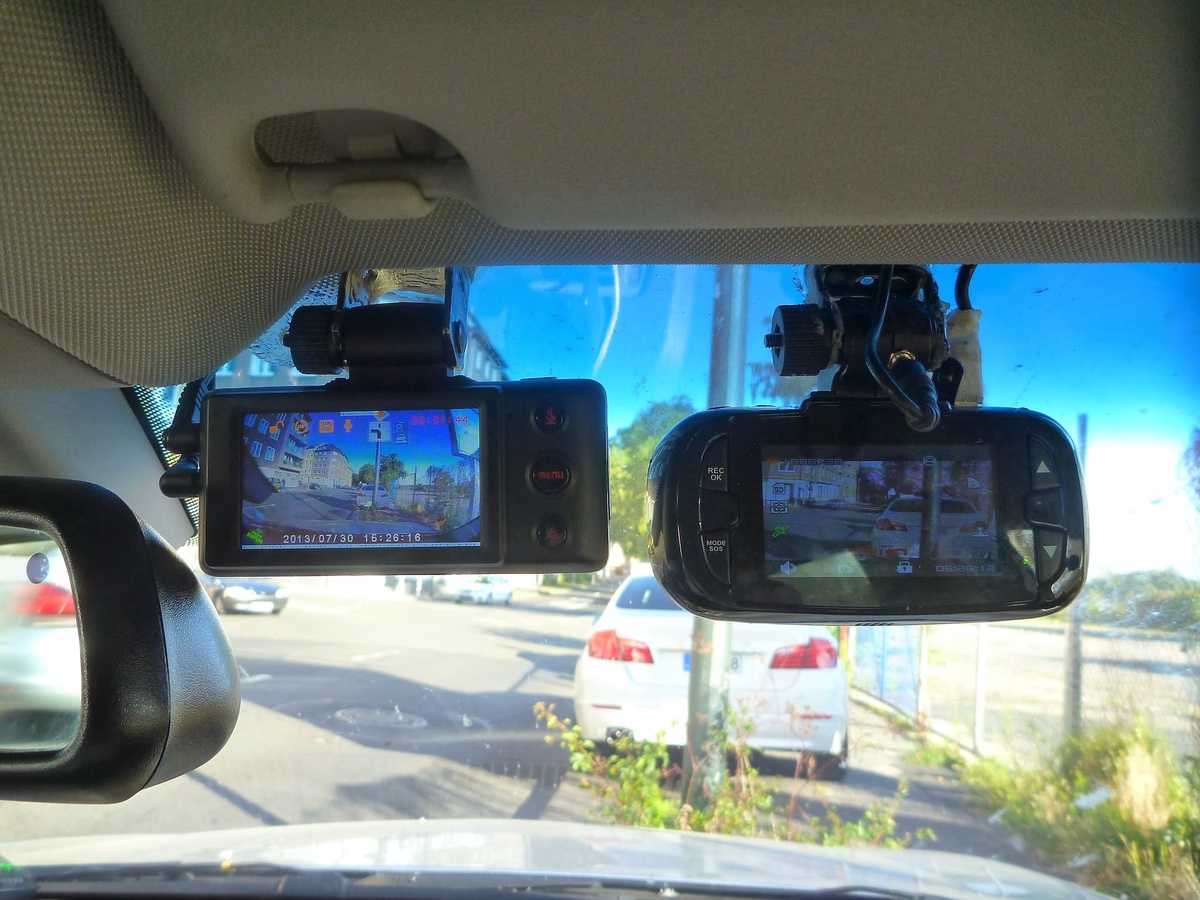
1. Field of View: Select a location that provides a clear and unobstructed view of the road ahead. Ideally, the dash cam should be mounted high on the windshield to capture a wide field of view without obstruction from the vehicle’s hood or wipers.
2. Legal Considerations: Be aware of any laws or regulations regarding the placement of dash cams in your area. Some jurisdictions may have restrictions on where dash cams can be mounted to ensure they do not obstruct the driver’s view or violate privacy rights.
3. Visibility: Mount the dash cam in a position that minimizes glare and reflections from the windshield. Avoid mounting it behind tinted areas or where the sun visor may obstruct the view.
Installation Steps
Once you’ve selected the ideal location for your dash cam, follow these steps to complete the installation process:
1. Prepare the Mounting Surface: Clean the area of the windshield where you plan to mount the dash cam using a mild detergent and water. Ensure the surface is dry and free of any dust or debris.
2. Mount the Dash Cam: Attach the mounting bracket or adhesive pad to the chosen location on the windshield. Carefully place the dash cam onto the bracket and secure it in place. Be sure to follow the manufacturer’s instructions for mounting to ensure a secure fit.
3. Route the Power Cable: Depending on your dash cam model, you may need to route the power cable from the camera to the vehicle’s power source. Conceal the cable along the windshield’s edge or headliner to prevent it from obstructing your view or becoming a distraction. Visit here: Thinkware dash cam
4. Connect the Power Adapter: Once the power cable is routed, connect it to the dash cam’s power adapter. If your vehicle has a built-in USB port or accessory outlet, you can plug the adapter directly into the port. Alternatively, you may need to hardwire the dash cam to the vehicle’s fuse box for a more permanent installation.
5. Secure Loose Cables: Use cable clips or adhesive cable organizers to secure any loose cables and prevent them from dangling or interfering with the driver’s visibility or controls.
6. Adjust Camera Settings: Before hitting the road, adjust the dash cam settings as needed, such as video resolution, recording loop duration, and motion detection sensitivity, to ensure optimal performance and storage efficiency.
Final Checks and Testing
Once the dash cam is installed, perform the following checks to ensure everything is working correctly:
· Power Test: Turn on the vehicle ignition and verify that the dash cam powers on automatically. If not, check the power connection and ensure it is securely plugged in.
· Camera Alignment: Confirm that the dash cam is aligned properly and capturing a clear view of the road ahead. Adjust the camera angle if necessary to optimize the field of view.
· Recording Test: Start recording a test video to ensure that the dash cam is capturing footage correctly. Check the video quality and playback to verify that there are no issues with the recording.
Installing a dash cam is a relatively straightforward process that can greatly enhance safety and security while driving. By choosing the right location, properly mounting the dash cam, and ensuring a secure power connection, you can enjoy the benefits of having a reliable eyewitness on the road. Follow the steps outlined in this guide to complete the installation process successfully and start driving with confidence knowing that you have a trusted ally capturing every moment on the road.
For more information regarding Viofo dash cam visit our website: https://safedrivesolutions.com/

No comments yet