Dashcams have become an essential accessory for vehicles, providing a sense of security, evidence in case of accidents, and capturing memorable journeys. Installing a dashcam may seem daunting at first, but with the right guidance, it can be a straightforward process. Check out: Dashcam installation
In this guide, we’ll walk you through the steps to install a dashcam in your vehicle.
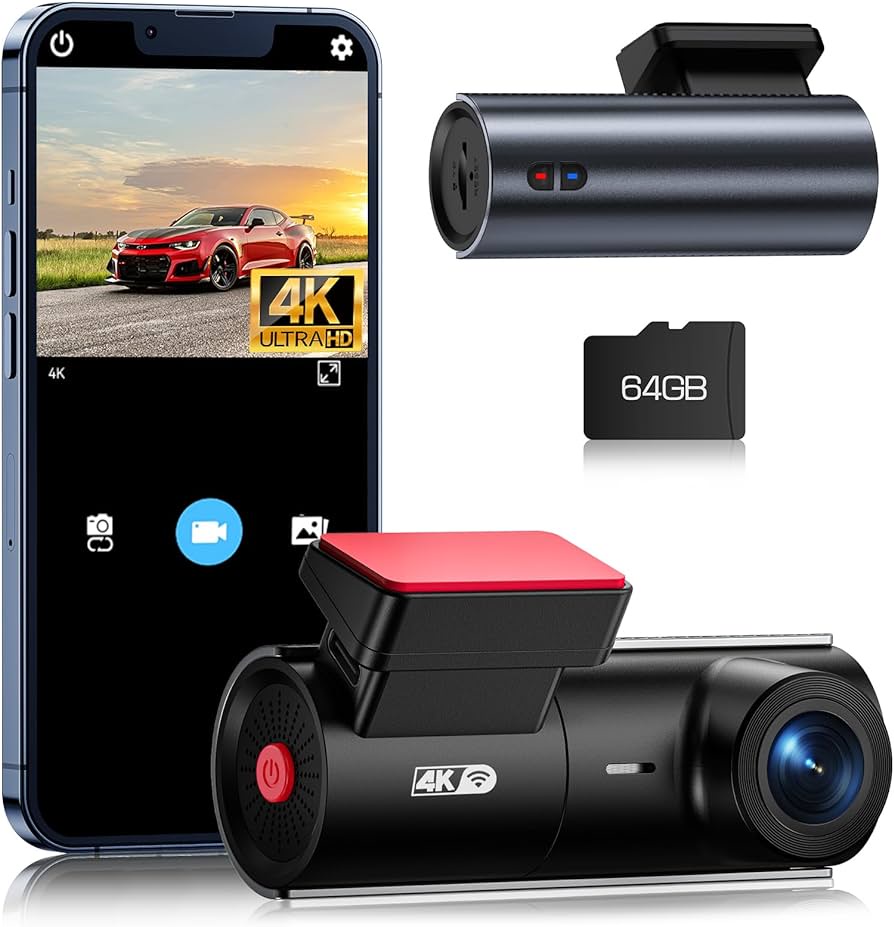
1. Choosing the Right Dashcam:
Before diving into installation, it’s crucial to select the right dashcam for your needs. Consider factors such as video quality, storage capacity, features like GPS, and parking mode. Once you’ve chosen your dashcam, ensure it comes with all the necessary accessories for installation.
2. Gathering Tools and Materials:
You’ll need a few tools and materials for the installation process. These typically include:
· Dashcam unit
· Mounting bracket or adhesive pad
· Power cable (hardwired or cigarette lighter adapter)
· Trim removal tools (optional)
· MicroSD card (if not included with the dashcam)
· Power drill (if hardwiring)
· Wire stripper/cutter
· Electrical tape or heat shrink tubing
3. Mounting the Dashcam:
Most dashcams come with a suction cup mount or adhesive pad for attaching to your windshield. Choose a location that offers a clear view of the road ahead without obstructing your view as the driver. It’s best to place the dashcam behind the rearview mirror to minimize distractions.
Clean the windshield surface thoroughly before attaching the mount to ensure a secure fit. Press firmly and hold for a few seconds to ensure proper adhesion. Once mounted, adjust the angle of the dashcam to your preference.
4. Power Source:
Dashcams can be powered either through the vehicle’s cigarette lighter socket or by hardwiring it directly to the vehicle’s electrical system. Hardwiring offers a cleaner look and enables parking mode recording, but it requires more effort. Visit here: Toronto dash cam
Cigarette Lighter Socket: Simply plug the dashcam’s power cable into the socket. This is the easiest method but may result in visible cables.
Hardwiring: To hardwire the dashcam, you’ll need to locate the vehicle’s fuse box and identify a suitable fuse to tap into. Common choices include the accessory or cigarette lighter fuse. Consult your vehicle’s manual for fuse box location and fuse ratings. Use a fuse tap to connect the dashcam’s power cable to the chosen fuse. Ensure proper grounding by connecting the dashcam’s ground wire to a bare metal bolt or screw near the fuse box.
5. Concealing Cables:
For a cleaner installation, conceal the power cable along the edge of the windshield and down the vehicle’s A-pillar. Use trim removal tools to tuck the cable securely into the vehicle’s interior panels. Be careful to avoid obstructing airbags or other safety features.
6. Testing and Setup:
Once the dashcam is installed and powered on, test it to ensure everything is functioning correctly. Adjust settings such as date/time, video resolution, and parking mode preferences as needed. Insert a microSD card into the dashcam if required and format it according to the manufacturer’s instructions.
7. Final Checks:
After installation, double-check all connections and ensure the dashcam is securely mounted. Test the dashcam’s recording functionality by taking a short drive and reviewing the footage.
Conclusion:
Installing a dashcam in your vehicle is a worthwhile investment that provides peace of mind and valuable evidence in case of accidents or other incidents on the road. By following the steps outlined in this guide and taking your time with the installation process, you can enjoy the benefits of a dashcam while ensuring a professional and tidy setup in your vehicle.
For more information regarding Vancouver dash cam visit our website: https://safedrivesolutions.com

No comments yet