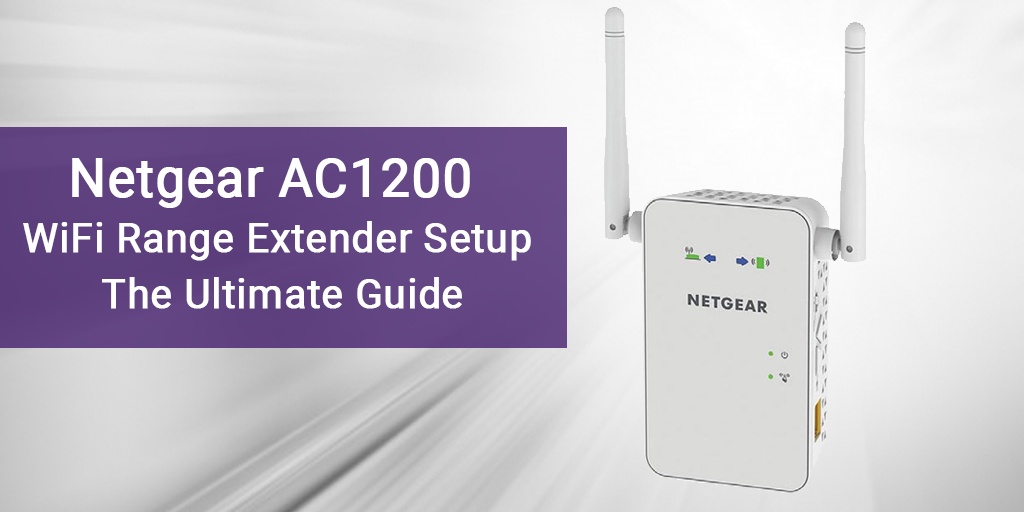
The Netgear AC1200 WiFi Range Extender is a powerful device designed to boost your existing WiFi signal and extend its coverage to eliminate dead zones. In this technical blog, we will walk you through the setup process using three different methods to ensure you have a reliable and extended WiFi network.
Method 1: Netgear AC1200 WiFi Range Extender Setup Using WPS (WiFi Protected Setup)
The WPS method is one of the easiest ways to set up your Netgear AC1200 WiFi Range Extender. Here’s a step-by-step guide:
- Plug in the extender: Connect the AC1200 extender to a power source and wait for the power LED to turn solid green.
- Press the WPS button on the extender: Locate the WPS button on your AC1200 extender and press it.
- Activate WPS on your router: Within two minutes, press the WPS button on your existing WiFi router.
- Wait for the connection: The WPS LED on the extender should turn solid green, indicating a successful connection. If it doesn’t, consider repeating the process.
Method 2: Netgear AC1200 WiFi Range Extender Setup Using via Web Browser
For users who prefer manual configuration, the Netgear Installation Assistant via a web browser provides a comprehensive setup:
- Connect to the extender: Use a device (laptop, smartphone, or tablet) to connect to the default WiFi network of the AC1200 extender. The default SSID and password can be found on the extender.
- Open a web browser: Launch a web browser and enter “http://www.mywifiext.net/" in the address bar.
- Create a Netgear account: If you don’t have a Netgear account, you’ll be prompted to create one. Follow the on-screen instructions to complete the account setup.
- Follow the setup wizard: The Netgear Installation Assistant will guide you through the setup process, including selecting the existing WiFi network you want to extend and configuring the extender settings.
Method 3: Netgear AC1200 WiFi Range Extender Setup Using via Ethernet Connection
For those who prefer a wired setup, manual configuration via an Ethernet connection is a reliable method:
- Connect the extender: Use an Ethernet cable to connect your AC1200 extender to your computer.
- Power on the extender: Plug the extender into a power source and wait for the power LED to turn solid green.
- Open a web browser: Launch a web browser and enter “http://www.mywifiext.net/" in the address bar.
- Log in: Use the default credentials (usually admin for both username and password) to log in to the extender’s web interface.
- Complete manual configuration: Follow the on-screen instructions to manually configure the extender settings, including selecting the existing WiFi network and setting up a new extended network SSID and password.
Conclusion:
By following any of these three methods, you can successfully set up your Netgear AC1200 WiFi Range Extender and enjoy enhanced WiFi coverage throughout your home or office. Choose the method that best suits your preferences and technical expertise for a seamless and extended wireless experience.

No comments yet