If you’re a food blogger, chances are you’ve wished for better lighting at some point. Natural light is great, but sometimes it’s just not enough. That’s where a light box comes in! A photo light box is a small, portable studio that you can set up in your own home, and it’s perfect for food photography. Here’s how to make your own light box for food photography.
Introduction: Why Use a Lightbox?
A light box is a simple, yet effective tool for food photography. By diffusing the light, it creates an evenly lit surface that is ideal for taking pictures of small items like food.
There are a few reasons why you would want to use a lightbox for your food photography. First, it ensures that your photos will have even lighting. This is important because it helps the food look its best and makes the colors pop. Secondly, using a lightbox eliminates shadows, which can be very distracting in photos. Finally, light boxes provide a clean background that will make your food stand out.
So if you're looking to take better pictures of your food, make sure to use a lightbox!
What you need: list of materials
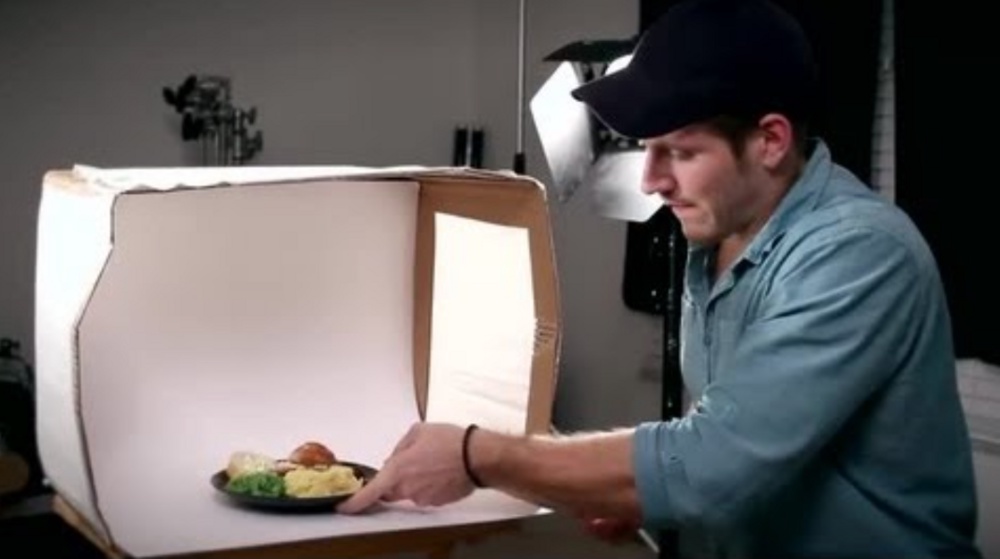
Step 1: Assemble the Box
Before you can start taking photos of your food, you need to assemble your lightbox. Here's what you'll need to do:
- Get a cardboard box that is big enough to fit your food item inside. You can either use a plain box or decorate the outside of it to make it look more appealing.
- Cut out one side of the box so that you can open it up and place your food inside. Make sure that the cutout is big enough for your camera lens to fit through.
- Cover the cutout with tracing paper or white fabric so that light can diffuse through and create a soft, evenly lit background for your photos.
- Place two lamps inside the box, pointing them towards the back wall.
Step 2: Set Up Your Lights
If you want to take amazing food photos, having the right lighting is key. That's why step two in making your own light box for food photography is all about setting up your lights.
To get started, you'll need two lamps and two light stands. Place the lamps on either side of the light box, about a foot away from the sides. Then, position the light stands so that they're facing the light box at an angle. This will help create evenly distributed light within the box.
Once your lamps are in place, it's time to focus on getting the right level of brightness. To do this, adjust the height of each lamp until you achieve the desired effect. It's important to experiment with different heights until you find what works best for you.
Step 3: Get Shooting!
Now that you have your light box set up, it's time to start shooting! Here are a few tips to help you get started:
- Use a tripod. This will help keep your camera steady and prevent blurry photos.
- Experiment with different angles. Get creative and see what looks best!
- Take advantage of natural light. If you're shooting during the day, try opening up the top of the lightbox to let in some natural light.
- Use a diffuser. If you find that your photos are coming out too bright or too harsh, try using a diffuser to soften the light.
- Have fun! Don't be afraid to experiment and play around with different settings until you find what works best for you.
Conclusion
In conclusion, making your own light box for food photography is a great way to get started in the world of food photography. It is an inexpensive way to get started and you can control the quality of the light. With a little practice, you can produce some stunning results.

No comments yet