While some people might think of crafting as a slightly impractical hobby, there are many advantages to it. You can learn about the craft of your choice, for instance, or use the process of creating something tangible to relieve stress and anxiety. In this article, you'll find out how to make your own wood pin in just three easy steps!
What are the Parts of a Wood Pin?
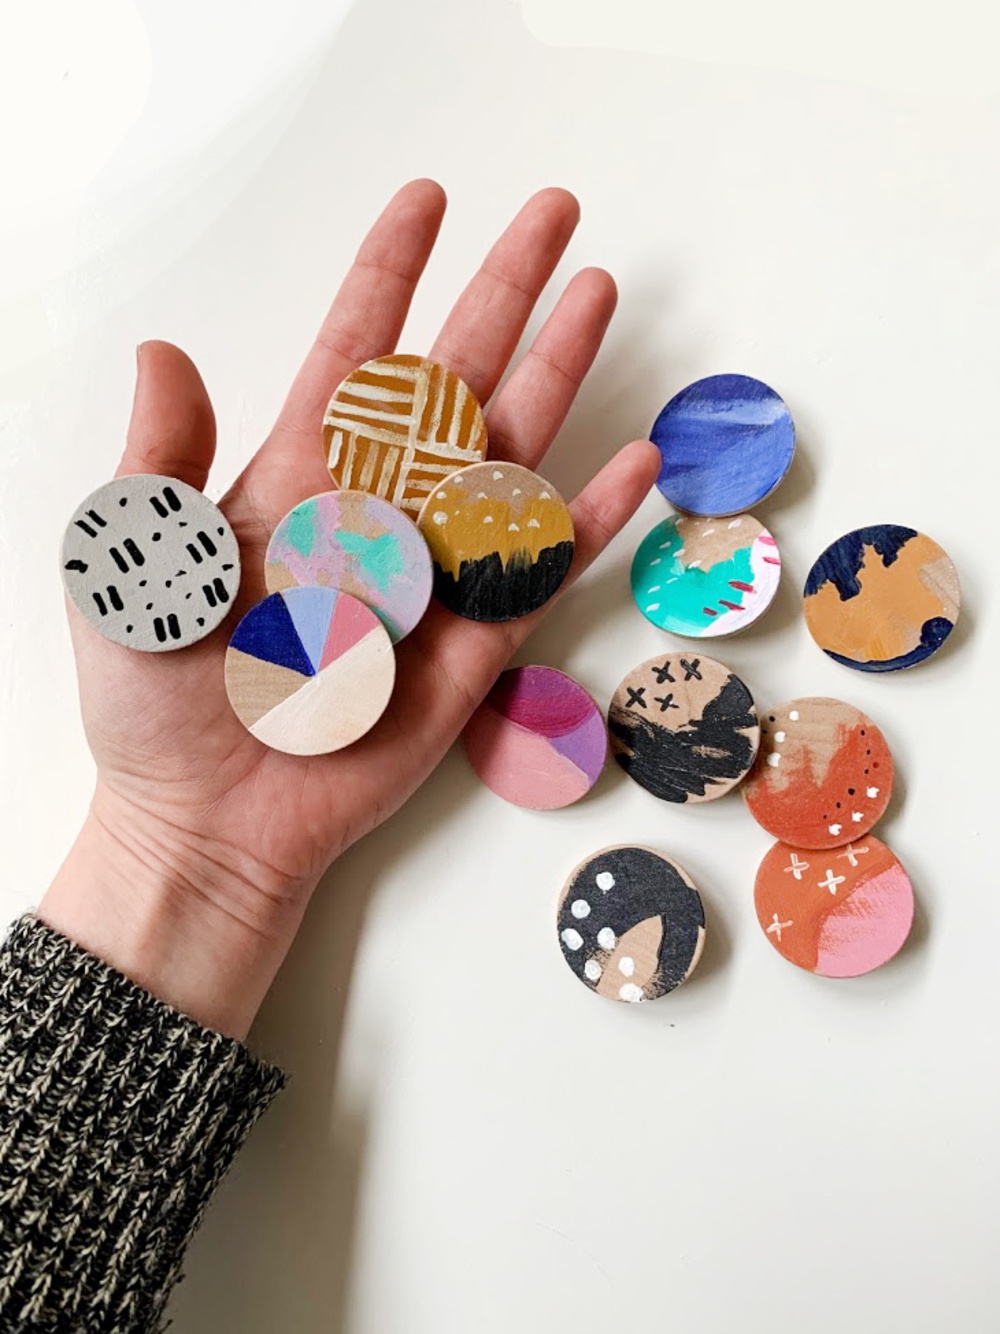
wood pin are a great way to keep your clothes in place and look polished. They're also an easy way to add a little personality to your wardrobe. Here's what you need to make your own:
- Wood of any kind, preferably something small and thin
- Saw blade or knife
- Hammer
- Nail or screwdriver
- Glue Gun
- Sewing Kit
1) Measure the size of the wood you'll be using, and cut it down to the desired length. If you're using a round pin, saw off one end so that it's straight. If you're using a rectangular pin, saw both ends at once so that they're both even.
2) Sand the wood down if needed (if it's not already smooth), then use the saw blade or knife to create a rough edge. This will help prevent the pin from slipping out of clothing.
3) Hammer the edge flat, then use a nail or screwdriver to attach it to the clothing where you want it to stay in place. Make sure that the head of the nail or screw is flush with the surface of the wood so that it doesn't catch on anything else when you pull on the pin.
4) If necessary, spray glue onto one end of the pin and attach it to where you want it attached. Then use a needle and thread to sew it in place. Don't forget to leave enough slack so that you can easily
Materials Needed for Wood Pin
Materials Needed for Wood Pin:
-1 piece of wood, at least 1 inch thick
-1 dowel or rod, at least 1 inch in diameter
-Round head pin (or other small object to serve as a guide)
-Sandpaper or a belt sander
-High-grit sandpaper or a hand drill with a bit that is 3/8 inches in diameter
-Wood stain (optional)
-Paint or an adhesive spray paint (optional)
-Laser cutter or hand saw
How to Use a Jig Saw to Cut the Pieces
When it comes to cutting wood, a jigsaw is the perfect tool for the job. A jigsaw can quickly and easily cut through most types of wood, allowing you to create precise pieces without having to waste time sanding or sawing through sections of the board multiple times.
To use a jigsaw effectively, follow these tips:
Prepare your work surface by dusting it lightly with sandpaper. This will help keep the blade from sticking while you are cutting. If your jigsaw has a belt clip or storage case, place the piece of wood that you are going to be cutting on top of the blade before starting. This will ensure that the blade moves smoothly over the wood and does not catch on any bumps or protrusions. To begin cutting, line up the edge of your piece of wood with one end of the blade and push down firmly with your left hand. Then use your right hand to guide the blade along the edge of your wood.
With practice, you will be able to move the jigsaw quickly and easily across the board and make cuts that are both precise and consistent. When finished cutting, flip over your workpiece so that the other side is facing up and gently pull it off of the blade. Be sure not to drag any pieces of debris along with it – this can cause scratches in your finishings or even damage to your machine!
Other Tools Needed for Cutting the Pieces
There are a few other tools that you will need in order to complete this project. A straight edge, a saws-all, and clamps are all necessary for the task at hand. Make sure that the straight edge is exactly 1" wide so that it can be used as a guides for the saws-all.
Begin by marking out the dimensions of your wood pieces on your board using the straight edge as a guide. Cut out the pieces using a saws-all and then use clamps to secure them in place. Be sure to use accurate measurements when cutting the pieces out so that they fit together perfectly.
Turning the Pieces into a Wooden Pin
If you're looking for a creative way to keep track of your various sewing projects, consider making your own wooden pin. Pinning items together is an essential step in the sewing process, and a wooden pin is not only more professional looking, but also easier to handle than a standard iron or needle. Follow these steps to turn your pieces into a wooden pin:
- Cut out the desired shape from your wood using a jigsaw or handsaw.
- Sand the edges of the piece if desired to smooth them out.
- Paint or stain the piece if desired.
- Insert the pins into the ends of the wood and attach them together using hot glue or another type of adhesive.
Finishing Touches
Adding a final touch to your wood pin is simple and easy. All you need is some paint or a sealant and a brush. Paint the pin black or any color of your choice, then use the brush to apply a thin layer of sealant to the top of the pin. Let the sealant dry completely before using your new wood pin!

No comments yet