If you want to obtain super-fast internet and get rid of dead spots in every room of your home or office, you must select Netgear EAX20 Extender Setup. You can get a quick wifi connection with an AX1800 dual band wifi range extender because it offers up to 1200 Mbps of speed.
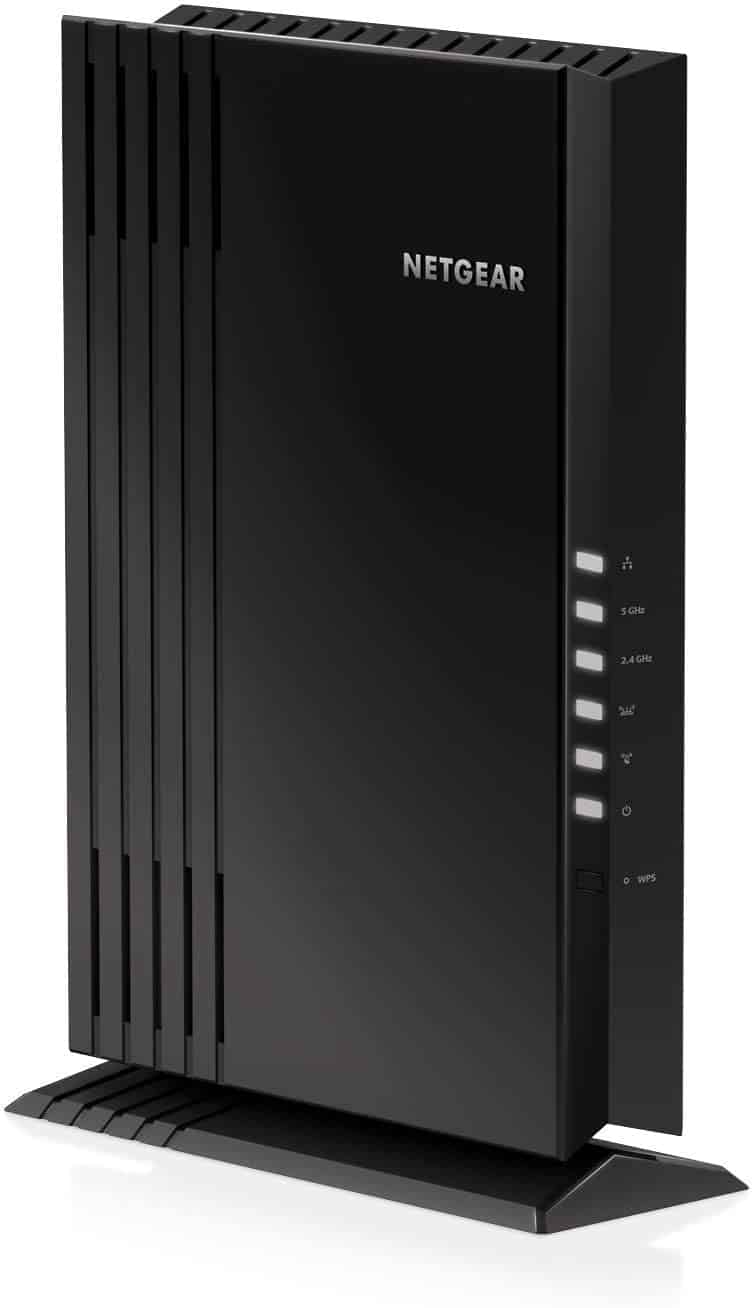
A wireless range extender called the Netgear EAX20 is made to increase a wireless network's reach. It functions by rebroadcasting the wireless signal from an access point or router to distant or weakly signaled regions. This enhances the network's overall coverage by removing dead zones.
Any wireless router can be used with the EAX20 because of its simple setup. You can connect wired devices to the wider network thanks to its Ethernet ports.
How Do I Setup Netgear EAX20 Extender?
The Netgear EAX20 Extender Setup is as follows:
- turning on your Netgear EAX20 Extender.
- Your AX1800 should be put close to the router.
- Keep an eye out for the Power light on the EAX20 to turn totally green.
- Go to the Wireless menu on your smartphone.
- Enable your AX1800 Network connection.
- Go to mywifiext.net after connecting to the extender's network.
- New Extender Setup will now appear on the screen.
- Please follow the instructions to complete the setup procedure.
- Whenever there are dead areas outside, connect your booster.
- Connect the rest of your devices to the new network at this point.
These simple procedures can be used to configure the Netgear EAX20 Extender in that way.
There are just two Methods For Netgear EAX20 extender Setup:
- Manual setup (Web Browser Setup).
- WPS Setup.
Netgear EAX20 Extender Setup by WPS button
Wireless protected setup is one of the quickest and simplest ways to configure your Netgear EAX20. Your extension just takes two to three minutes to set up. To configure the EAX20 using WPS, you must press the WPS button on both the router and the booster.
Here are the steps for the Netgear EAX20 Extender Setup by WPS Button:
- The Netgear EAX20 needs to be opened and powered on.
- Position your AX1800 close to the router.
- A full green color will appear on the power LED.
- The WPS button on your repeater needs to be depressed.
- Wait a moment, then press the WPS button on the router.
- If the extender's LEDs turn completely green, your extender has been set up correctly.
- Connect your smart gadgets to the booster and move it to an area with dead spots.
We can quickly configure Netgear EAX20 AX1800 in this method.
Netgear EAX20 Extender Firmware Update
The Netgear EAX20 Extender's firmware upgrade includes the most recent security patches and new features. It tends to improve the AX1800's performance while also aiding in the elimination of any glitches or other problems you could run into when using the EAX20. To upgrade the firmware, grab a smart device and go to www.mywifiext.net, Netgear's official website.
The following are the methods for updating the Netgear EAX20 Extender firmware:
- The Netgear EAX20 needs to be turned on first.
- Connect to your existing wifi network.
- Go to www.mywifiext.net in your browser.
- Enter your personal data to log into your extender.
- By choosing settings, navigate to firmware updating.
- Do not unplug your AX1800 while the update is executing.
You can update your firmware to the newest version by following the above procedures.
How Do I Reset Netgear EAX20 Extender ?
The steps for the Netgear EAX20 Extender Reset Procedure are as follows:
- Find the extender's reset button. Usually, it is a tiny, recessed button on the device's bottom or rear.
- Press and hold the reset button for 7 to 10 seconds with a paperclip or other pointed object.
- Reset button released The EAX20's lights will flash before going out, signifying that the reset has been successful.Wait a few minutes for the lights to come back on.
- Reconfigure the EAX20 as needed by connecting your computer or other device.
Note: Resetting the EAX20 will erase all settings and configurations, so make sure to have any necessary login information and network configurations on hand before resetting the device.

No comments yet