The Wavlink Wifi Extender Setup consists of setting up and activating the device to increase a wireless network's coverage and range. Wi-Fi protected setup (WPS) or manual configuration can be used to do this. Firmware updates are also necessary for the best security and performance. Because of its flexibility, customers may tailor the extender to meet their specific connectivity needs, which makes it a helpful tool for improving wireless performance, offering a stable, strong Wi-Fi connection over the targeted area, and enabling AP setup for improved network coverage.
WPS Method of Wavlink Extender Setup
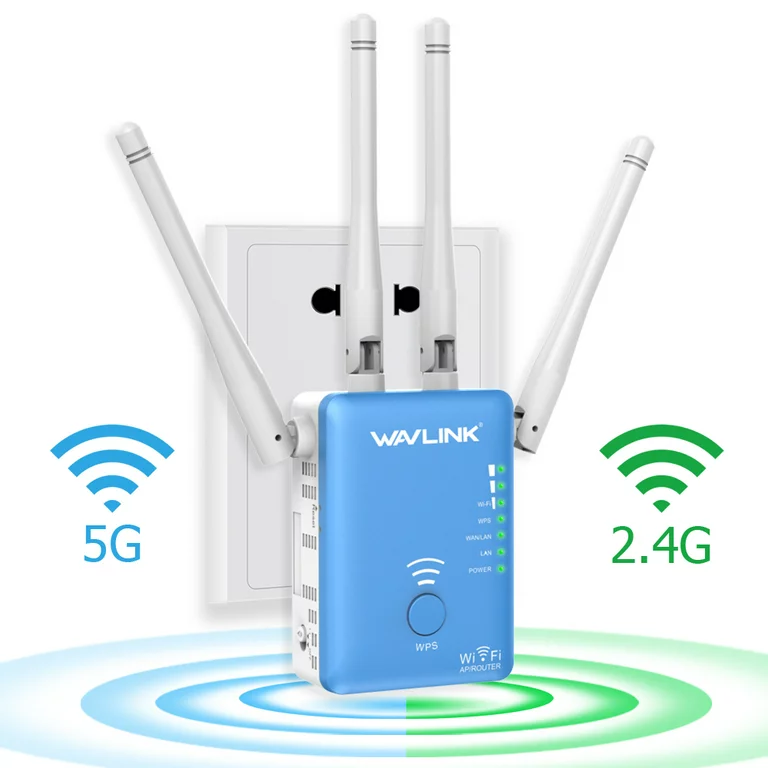
- Turn on your extender by plugging it into a power socket.
- Press the WPS button.
- Press the two minutes WPS button.
- When the WPS connection is successful, the signal LED will turn blue.
- You can now experience longer wifi connections by connecting your device to the extender network.
Manual Method for Wavlink Wifi Extender Setup
- Switch on and plug in the Wavlink WiFi extender.
- Link your device to the WiFi network of the extender.
- Use the default IP address or ap.setup to access the extender's configuration interface in a web browser.
- Configure the extender's settings by logging in and entering the information for your current WiFi network.
- If the extender needs to reboot, apply the settings changes and let it happen.
- To make sure there is enough coverage, test your WiFi connection in the wider area.
NOTE : If you need any help regarding your wavelink wifi range extender so get in touch with the technician or visit the official web site that is wavlink wifi range setup
Login Steps Wavlink Wifi Range Extender
- Join the WiFi network of the Wavlink extender.
- Launch a web browser.
- In the address bar, type the IP address by default.
- In order to view the login page, press Enter.
- Enter the password and username.
- Press Enter or click "Login" to open the setup interface.
- Now that you're signed in, you can adjust the Wavlink extender's settings.
How do I update the firmware on the Wavlink Extender?
- To download the most recent firmware for your extender, go to the Wavlink website.
- Open a web browser and go to the extender's configuration interface.
- Go to the area for firmware updates.
- To upgrade, upload the downloaded firmware file and follow the on-screen instructions.
- When the update is finished, wait and, if needed, restart the extender.
- You have now updated the firmware on your Wavlink extender.
Wavlink Extender Reset Process
- You need to find the Wavlink extender's reset button.
- Hold the reset button for 10 to 15 seconds.
- When the extender's LED lights begin to blink, release the reset button.
- Await the reboot and factory reset of the extender.
- Adjust the settings of your extender as necessary.

No comments yet