In today's fast-paced world, a reliable internet connection is no longer a luxury, but a necessity. Unfortunately, many factors can affect the strength and quality of your WiFi signal, such as the distance between your router and your devices, interference from other electronic devices, and even the layout of your home or office. A Wifi extender is very useful in this situation. That is why in this post, we will be sharing with you the Setek Wifi extender setup.
A WiFi extender is a device that helps extend the coverage of your WiFi network. It works by receiving your existing WiFi signal, amplifying it, and then transmitting the boosted signal to areas where your WiFi signal is weak or nonexistent. One of the most popular WiFi extenders on the market is the Setek WiFi extender. In this article, we will guide you through the Setek WiFi extender setup process so that you can manage it on your own.
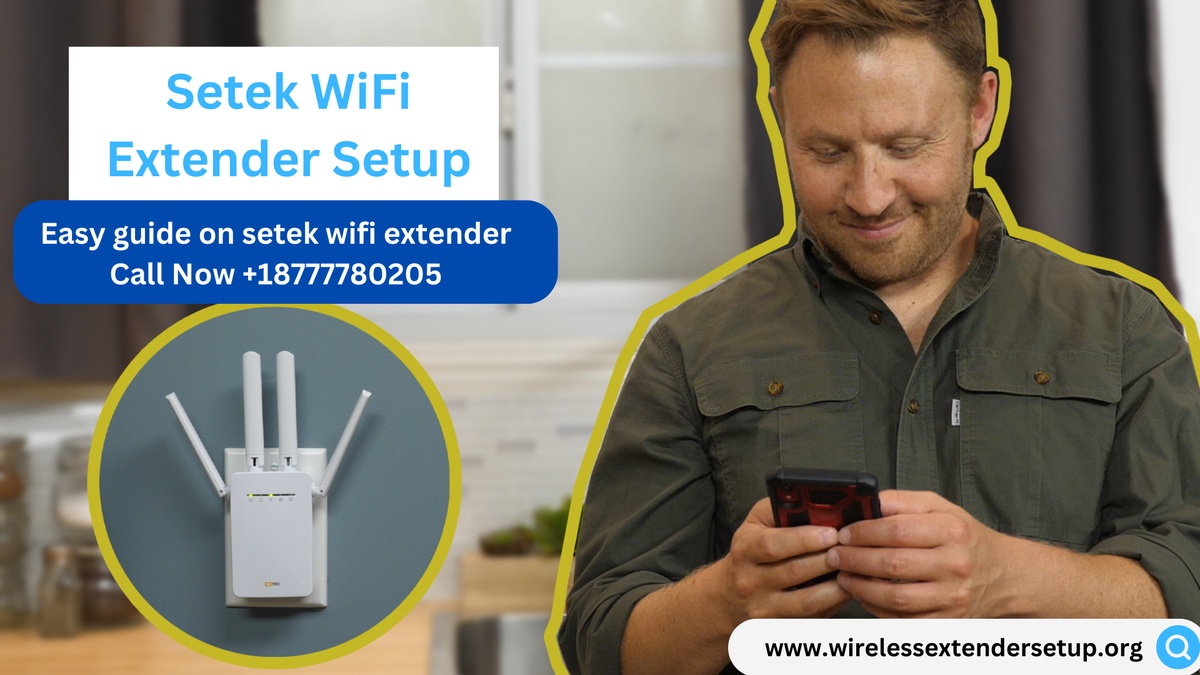
Steps for Setek Wifi Extender Setup
Step 1: Determine the Ideal Location
The first step in setting up your Setek WiFi extender is to determine the ideal location for it. This is important because the location of your extender can significantly affect the strength and quality of your WiFi signal. As a general rule, your extender should be placed halfway between your router and the area where you want to boost your WiFi signal. This will ensure that your extender receives a strong WiFi signal from your router and can effectively boost it to the desired area.
Step 2: Connect the Setek WiFi Extender to Power
Once you have determined the ideal location for your Setek WiFi extender, the next step is to connect it to power. To do this, simply plug the extender into a power outlet near the location you have chosen.
Step 3: Connect to the Setek WiFi Extender
After connecting the extender to power, the next step is to connect to it using a device that is connected to your WiFi network. You can do this with a wireless and a wired connection. If you are using a wired connection, connect an Ethernet cable to the extender and then to your device. If you are using a wireless connection, simply search for the Setek WiFi network on your device and connect to it.
Step 4: Open the Setek WiFi Extender Configuration Page
Once you are connected to the Setek WiFi extender, the next step is to open the configuration page. To do this, open your web browser and type in the default IP address of the extender (192.168.10.1) into the address bar. Once done correctly, this step will lead you to the extender’s configuration page.
Step 5: Configure the Setek WiFi Extender
Now that you are on the Setek WiFi extender configuration page, the next step is to configure it. The configuration process will vary depending on your specific extender model, but generally, you will need to follow these steps:
- Choose your WiFi network: Select your existing WiFi network from the list of available networks.
- Enter your WiFi network password: Enter the password for your existing WiFi network.
- Configure the extender settings: This includes setting up the extender's SSID (network name), password, and security settings.
- Save the changes: Once you have configured the extender settings, click on the "Save" or "Apply" button to save the changes.
Step 6: Test the Setek WiFi Extender
After configuring the Setek WiFi extender, the final step is to test it. To do this, move to the area where you previously had a weak or no WiFi signal and check if the signal has improved. You can do this by checking the WiFi signal strength on your device or by running a speed test.
Setting Up Setek Wifi Extender Using WPS
If you're looking to extend your WiFi coverage at home or in your office, a Setek WiFi Range Extender can be an excellent solution. Setting up the extender via WPS is a quick and straightforward process. Below, we've outlined the simple steps to follow to set up your Setek WiFi Range Extender via WPS:
Step 1: Plug in the Extender
The first step is to plug in your Setek WiFi Range Extender into a power outlet in the same room as your router. This ensures that you have a fast and stable connection through WPS.
Step 2: Wait for the LED Light
Wait for a few seconds until a solid green LED light starts blinking on the Setek WiFi Range Extender. This indicates that the extender is ready for the setup process.
Step 3: Hold Down the WPS Button
Press and hold the WPS button on the Setek WiFi Range Extender for about five seconds. Next, repeat the same step for your router device. This will start the WPS process.
Step 4: Wait for the LED Light
After pressing the WPS button on both the router and the Setek WiFi Range Extender, wait for a few seconds. You'll notice that the LED light on both devices will start blinking. It typically takes around 15 to 18 seconds for the Setek WiFi Range Extender to connect with the router.
Step 5: Check the LED Light on the Extender
Once the connection is established between the router and the Setek WiFi Range Extender, the LED light on the extender will turn solid green. This means that your Setek WiFi Range Extender has successfully connected with your router.
Step 6: Place the Extender
Finally, unplug your Setek WiFi Range Extender and place it in the location where you need internet connectivity. It is essential to ensure that the extender is within range of the router for the best results. Also, keep it away from interference-creating devices like ovens, microwaves, etc., to maintain a stable internet connection.
Conclusion
Setting up a Setek WiFi Range Extender via WPS is incredibly easy and can be done in a matter of minutes. By following the steps mentioned in this post, you can manage this setup with ease. With a Setek WiFi Range Extender, you can now enjoy a strong and stable internet connection in every corner of your home or office.

No comments yet