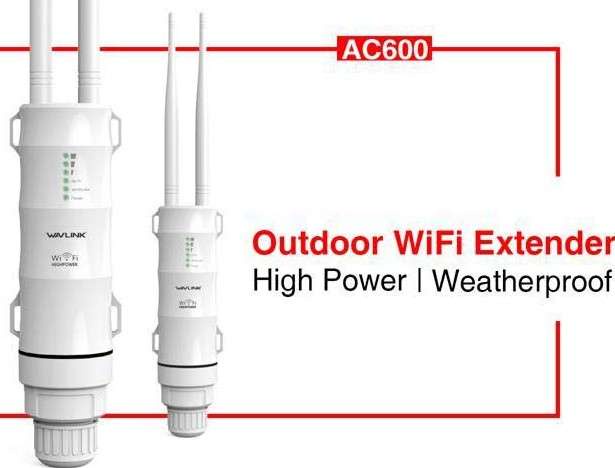
Wavlink AC600 is dual band outdoor wifi range extender. It has a high power amplifier built in to eliminate the dead zone at your location. The Wavlink AC600 provides up to 600mbps speed. On this page we will guide you to perform Wavlink AC600 setup.
Requirement for Wavlink AC600 setup:
- Better power source.
- Wavlink username and password
- Smart device with a support browser.
Steps for Wavlink AC600 setup.
- First unbox your device and arrange it.
- Plug your AC600 in the power outlet.
- Grab any smart device.
- Connect your device with the internet.
- Select any browser.
- Type 192.168.10.1
- Then enter your name and admin.
- click login
Then follow the on screen instruction for wavlink AC600 setup.If your extender connected to the router successfully and still there is no internet access you may need to update the Wavlink AC600 firmware.
How to update firmware on Wavlink AC600?
To upgrade your Wavlink AC600 Firmware, look for updates that include good functionality, improvements, and bug fixes for your AC600 extender.
Given the following procedures upgrade your Wavlink AC600 firmware:
- Navigate to the web browser.
- Enter wifi.wavlink.com in the URL field.
- Now enter your default id password.
- Click the login button.
- Now .
- install the most recent Wavlink AC600 firmware.
- When it’s finished, press the setup button.
- Following a firmware upgrade, your extender will reboot.
If you don't know how to update the Wavlink AC600 extender firmware, please contact our expert staff for assistance or difficulties with your AC600 extender.
Wavlink AC600 setup using WPS
In this blog we will let you know the process of Wavlink AC600 setup using the WPS method (wireless protected setup). WPS is the simplest method for configuring your Wavlink AC600 and expanding your host network. In this process there is no need to fill up or mention your personalized information like passcode, username and SSID e.t.c.
Here are the instructions for configuring your Wavlink AC600 with WPS:
- Place your extension close to the router to start.
- Switch on your Wavlink AC600.
- Wait until the LED light has fully turned green.
- Press the WPS button on your router or extension.
- A green light will now start to blink.
- Wait a few while for your extender to properly sync with your home wireless network.
Finally, your Wavlink AC600 extender configuration is complete. Please use the chat or phone to get in touch with us if you have any questions about your extender. You will receive help from our technical specialists in setting up your Wavlink extender utilizing the AP.setup procedure.
How to setup a Wavlink AC600 extender via web browser?
To setup your Wavlink AC600 extender you can also use wifi.wavlink.com
- Firstly, open any web browser.
- Now type wifi.wavlink.com or 192.168.2.1 in your browser's address.
- You have to login with your username and password first to gain access to your router's dashboard.
- Then, select the advanced option from the drop-down box on the router's login screen.
- You must choose the factory default setting reset option from the router information tab that appears on your screen.
- Your router is reset now successfully.
How to reset Wavlink AC600?
The actions listed below should be followed in order to reset your AC600:
- First, turn on any smart gadget.
- Use cat5 ca to connect your device and router.
- On the AC600's rear, search for the reset button.
- To restart your router, press and hold the reset button.
- Put a sharp pin through the reset button.
- Keep it in place for 8-10 seconds.
- Verify whether the LED status on your AC600 is flashing.
The steps to reset your Wavlink AC600 extender are as follows. You can contact us via live chat or our toll-free phone if you need help with your Wavlink AC600 wifi range extender.
Troubleshooting steps need to follow:
To upgrade and customise your Wavlink AC600 extender setup, you must first complete the hardware installation of the adapter. Follow the installation instructions for the hardware as directed. If it is finished, you move on to the next level and begin working there.
As per the manual’s guidance,
- Mount the equipment.
- Set the cables in position.
- Connect the external power adapter to the outlet and the passive PoE injector. After you make the connection, the LED illumination should be on.
- From the PoE port of the PoE injector, connect an Ethernet RJ45 cable to the LAN port of your access point.
- Connect the LAN port of the Passive PoE injector to the Ethernet RJ45 cable.
- The hardware and cable installations can be finished effectively in this way. After that, you must finish configuring the access point.
- Start the internet browser
- 192.168.2.1 or wifi.wavlink.com should be entered. This serves as the main gateway for your Wavlink AC600 configuration.
- Enter your username and password. The default username and password are admin and 1234, respectively.
- Both the password and user name must be updated. To continue, click OK. You can modify the user name and password after logging in to your admin panel. Right now, disregard it.
If you don’t understand the process of troubleshooting, feel free to contact our technical experts. They are available for your help.

No comments yet