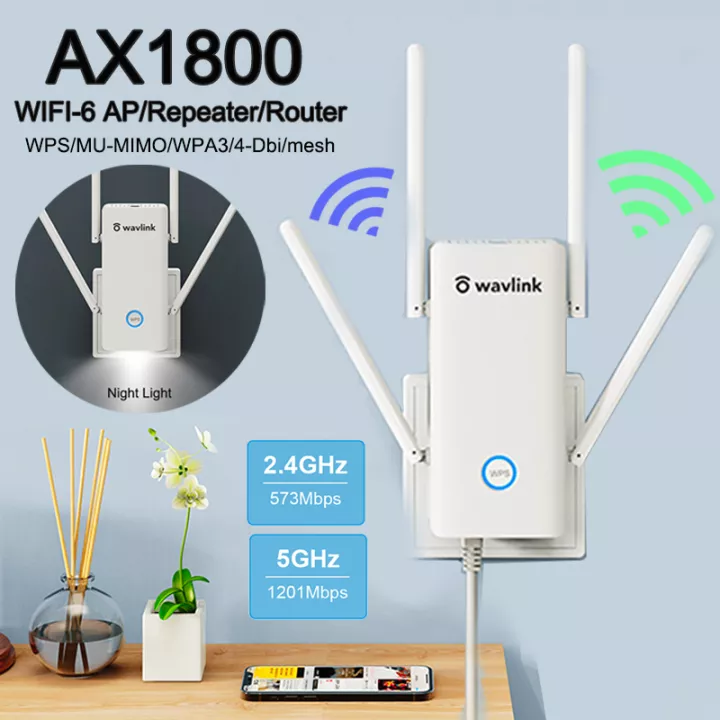
The Wavlink AX1800 Setup works with the latest wireless guidelines, including 80 MHZ and 802.11ax (Wi-Fi 6). The device allows you to stream on two different bands at the same time. It works at 2.4GHz (574Mbps) and speeds up to 5G (1200Mbps).
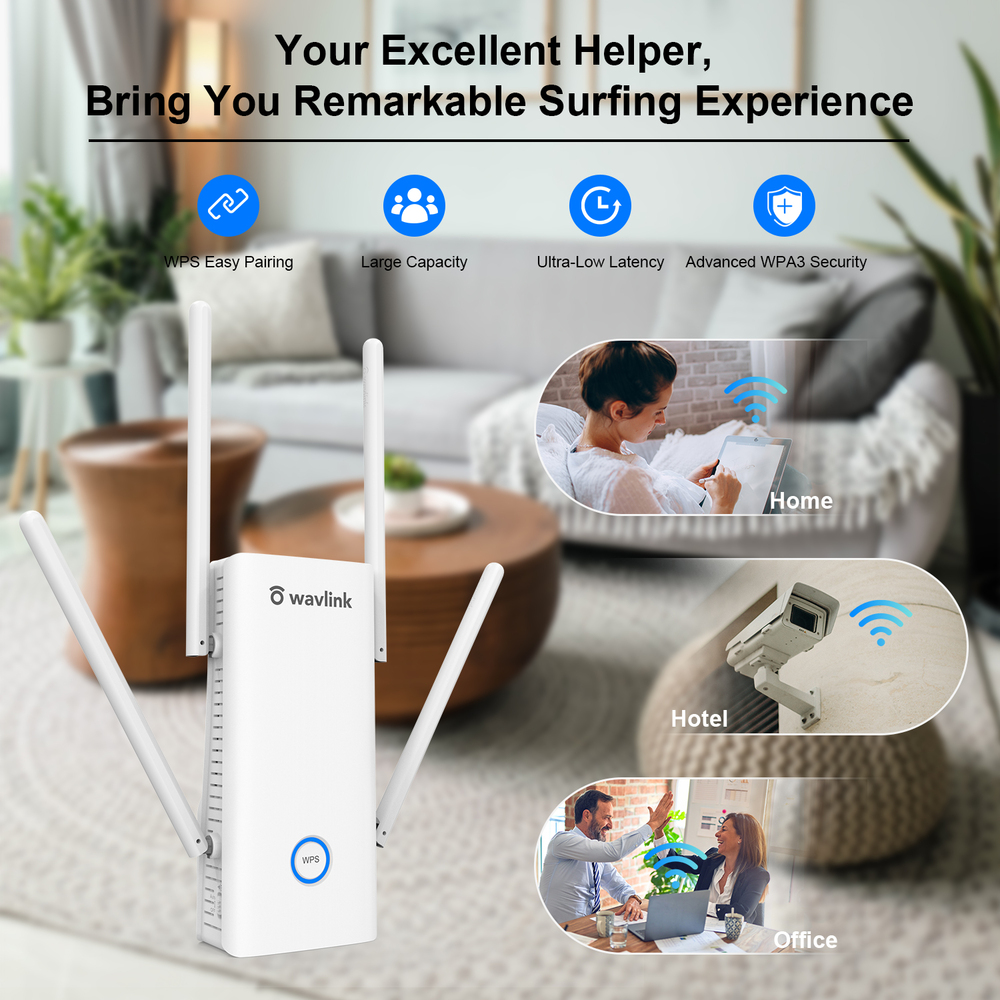
The very large network. Connect it to a WiFi Mesh router that works with it for a smooth mesh network. In addition to the WAVLINK router, this device has two high-speed Ethernet ports and a high-speed network.
Here are the steps for setting up your Wavlink AX1800:
- Unbox your AX1800 Extender and turn it on.
- Press the power button and wait for the solid green light to come on.
- Make sure to put your extender close to your main router.
- Link up with the Ap extender setup Ext.
- Visit Ap.setup from any web browser.
- Now, you are on the page of the Wavlink 1800 extender setup.
- Put your personal information into your Ap login account to setup it.
- Follow the steps shown on the screen to finish setting up.
- Now, unplug the AX1800 and plug it in wherever you want.
- This is how you set up your Wavlink AX1800. In the next blog, we'll talk about the wireless protected setup, which is another way to set up your WIFI range booster (WPS).
Setting up the wavlink wifi repeater with a computer using an Ethernet cable:
Make sure: if the router has a USB port that is plugged in, unplug it first.
- Plug the wavlink AX1800 wifi extender switch into an electrical socket.
- Then connect the ethernet LAN to one of the computer's LAN ports.
- Then, plug the other end into the repeater's Ethernet port.
- Now, wait for your computer and the extender to connect.
- Then, go to the wifi list and look for the wavlink AX1800 wifi extender's SSID. Connect the device.
How do I set up my Wavlink AX1800 extender by WPS method?
Let's learn more about the WPS method, which is another way to set up your Wavlink repeater. This is the easy and fast way to do it. After you do the Wavlink AX1800 WPS setup, you will be able to set up your extender in two minutes without entering a username, password, or SSID. Let's look at how the WPS method works.
Follow the steps below to set up your Wavlink AX1800 by WPS method:
- Start the Wavlink AX1800 up.
- Put it close to the router/modem you already have.
- Press the WPS button on your WN583AX1.
- Press the same button on your router also now.
- Once the WPS light goes all the way to green.
- That means the link between your router and extender is now working.
- Now you can unplug the booster and put it where the signal is weak.
- In this way, you can use wireless protected setup to set up your Wavlink AX1800.
How to update the Wavlink AX1800's firmware?
If you're having issues with your extender (either because it's not giving you the speed you need or because of something else), you'll need to update the firmware on your Wavlink AX1800. It has new security features and other new features that will help you resolve your issues.
Follow these steps to update the firmware on your Wavlink AX1800:
- Turn on your Wavlink AX1800 first.
- Use any smart device you have.
- Visit ap.setup.
- Click on settings, and then click on firmware upgrade.
- Follow the steps shown on the screen to finish the firmware update.
- While the AX1800 is being updated, don't turn it off.
That's how you can make sure your Wavlink AX1800 has the latest firmware.
How to reset the Wavlink AX1800?
 After setup Wavlink AX1800 extender. If you forget your admin passphrase or username and want to get it back, you will need to do a factory reset on your extender. Once you reset the Wavlink AX1800, it will auto prepare your extender for a new setup process by deleting all of your personal information, such as your password, username, or SSID. To do a factory reset, you need a sharp, hard object like a paper clip or a needle.
Here's what you need to do to reset the Wavlink AX1800 repeater:
- The Wavlink AX1800 needs to be turned on.
- Find the factory reset button on the side of your booster. It is under a hole.
- Press the factory reset button for 8–10 seconds with a hard pin.
- When the LED blinks, your extender will automatically restart and get ready for a new installation.
- Remember that you shouldn't unplug the extender until the task is completed.
- So, the process of resetting to factory settings has been done successfully. If you still have questions about setting up, updating the firmware, or doing a factory reset, you can call our toll-free numbers.
Wifi Extender Setup is a service provider that works by itself. Any examples to Trademarks, Brands, Products, and Services are for informational purposes only, and Wifi Extender Setup has nothing to do with any of those companies unless that is made clear. Some of the services we offer may also be found on the websites of the brand owners.

No comments yet